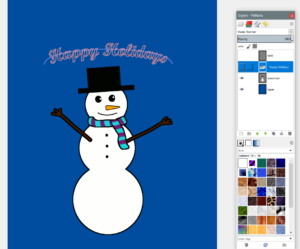
For my recent snowman idea, I was thinking of having the words “Happy Holidays” appear arched over the head. I decided against it in the end, but I learned the process involved in getting it done in GIMP nonetheless, as well as a couple of mistakes to avoid.
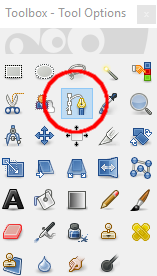
1. Use the Path tool.
The other sources I found said to get the path first, but the order doesn’t matter so much as making sure you have the right path or layer highlighted for what you’re doing. In any case, that’s where we’ll start for our example.
The path tool:
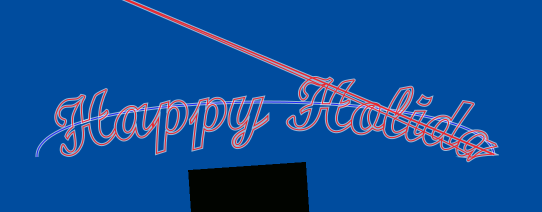
2. Make the arc.
For the purpose of our example, click on the left lower end of where you want the arc to start and then click on the right lower end of where you want the arc to end. You should have a straight line, or at least straight-ish. Then place the mouse at the middle of where the arc is going to rise. Click and drag the path upward. We now have an arc. You can fiddle with it more in other ways if it’s not quite what you want.

3. Make the text path.
Now that we have our path, I suggest naming it. I named mine, “ArcExample.” Make sure this path stays or is selected in the paths dialog for this next part. Add the desired text and keep it as a separate text layer. Right-click the text layer and select, “Text along path”. Alternatively, you can highlight the text, right-click it there, and pick “Text along path.”
Warning: Don’t make the text too big.
I kept having this problem in my own process and eventually realized it was because the font I chose was too big so take note to avoid that.
When you do have the text at a suitable size, a new path outlining the full text on the arc we made earlier appears.
4. Select the text path.
Go to the paths dialog, find the one just created, name it if desired, and right-click, then pick Path to Selection.

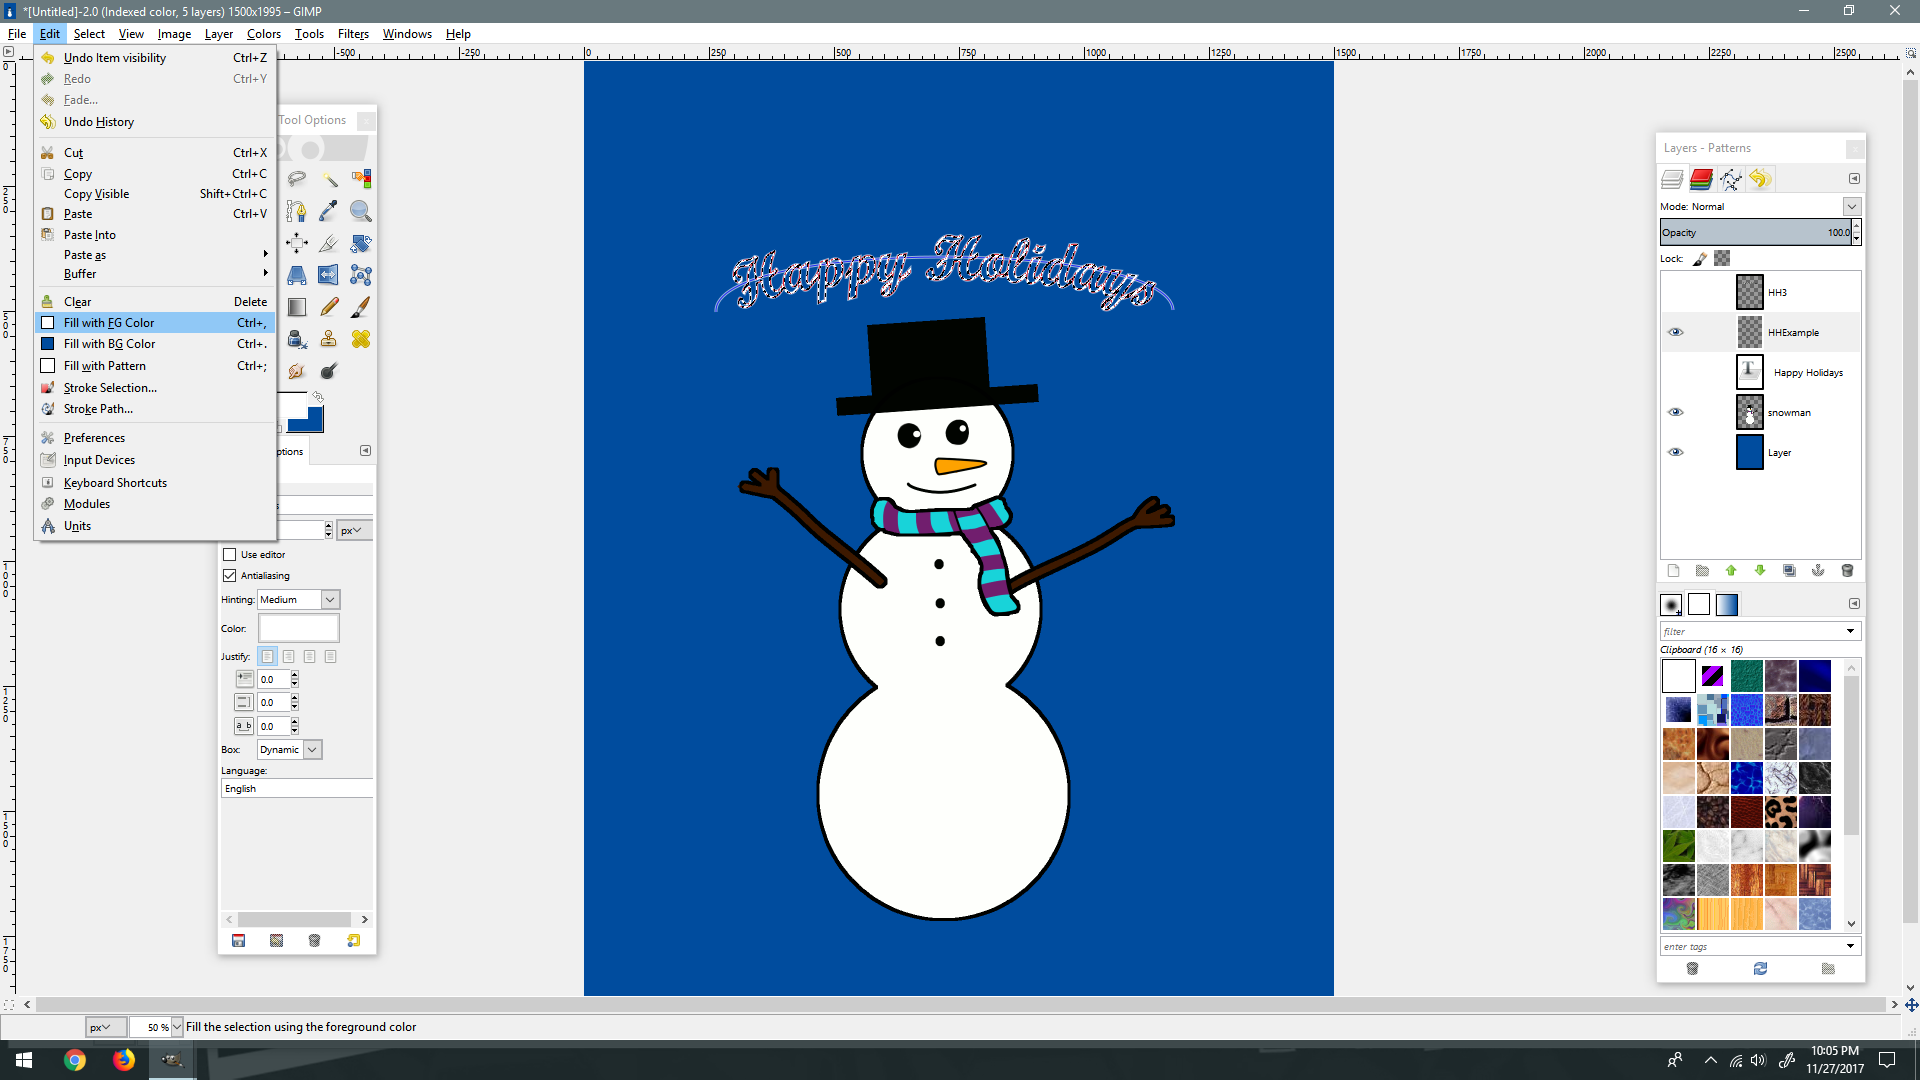
5. Fill the text color.
Fill it up with the desired color.
DONE!
Deselect, hide path, and it’s done:

Sources:
VisiHow: Write Text in an Arc in the GIMP App
Techwalla: How to Curve Text in GIMP
YouTube: How To Warp Text With GIMP
Superuser.com: Change style and color of text with text along path (gimp)